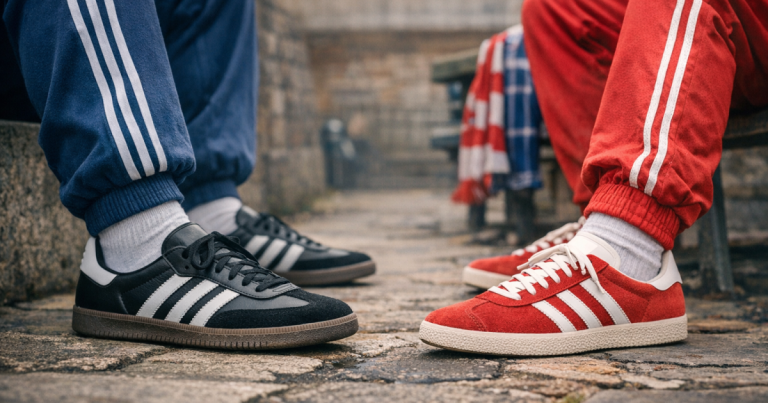
Suede looks right with a retro track top because it has texture, softness and that slightly worn-in casual confidence. Knowing how to clean suede terrace trainers properly is the difference between keeping them sharp and turning a good pair into stiff, patchy footwear. The trick is to stay patient, use minimal moisture, and work with the nap rather than scrubbing it flat.
Whether you wear low-profile gum-sole trainers with a tricot tracksuit or a chunkier pair with a shell jacket, suede needs a calmer approach than leather or mesh. Most mistakes happen because people treat suede like a normal trainer upper: too much water, too much detergent, too much force.
At a glance
- Let suede dry fully before brushing mud or grit away.
- Use a suede brush, soft brush or suede eraser before adding any cleaner.
- Keep water use controlled; soaking suede can leave marks, stiffness and colour changes.
- Clean both shoes evenly so one does not look brighter or duller than the other.
- Dry naturally at room temperature, away from radiators and direct heat.
- Finish by brushing the nap back up and applying a suitable suede protector if the product instructions allow it.
What makes suede terrace trainers awkward to clean?
Suede is made from the underside of leather, which gives it a soft, raised nap. That nap is why it looks so good with classic terrace clothing: it breaks up the shine of nylon, tricot and polyester track tops, and it feels more relaxed than polished leather. The same texture also traps dust, street grime, spilled drink and dark marks from wet pavements.
On a typical UK day out, suede trainers might deal with drizzle, train platforms, pub carpets, concrete concourses and the odd scuff from someone else’s heel. That is a different sort of wear from box-fresh lifestyle photography. The aim is not to make them look clinically new; it is to keep the shape, colour and surface texture presentable.
It also helps to think about the outfit. A clean, brushed pair of suede trainers can make a vintage-style track top feel intentional rather than scruffy. If you build outfits around trainers and track jackets, the advice in pairing indoor-style trainers with retro track tops is useful once the shoes themselves are back in decent condition.
Step 1: Let them dry before you touch the dirt
If the trainers are muddy or rain-soaked, do not start cleaning straight away. Wet suede is vulnerable: brushing it hard can spread dirt deeper into the fibres, flatten the nap and create shiny patches. Put the trainers somewhere airy at room temperature and let them dry naturally.
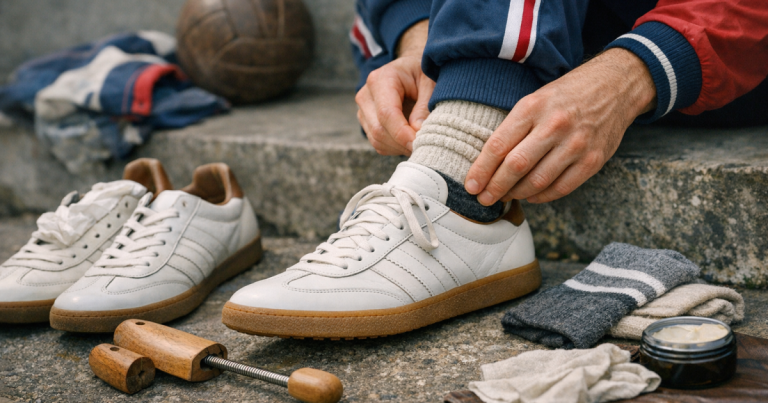
Remove the laces so you can reach the tongue and eyestay area properly. If the trainers are damp inside, loosen the opening and use plain, clean paper to help hold the shape. Avoid newspaper if there is a risk of ink transfer onto light linings or pale suede. Do not use a hairdryer, radiator, tumble dryer or airing cupboard blast; direct heat can dry suede unevenly and make it feel hard.
Step 2: Brush away loose dust and dry mud
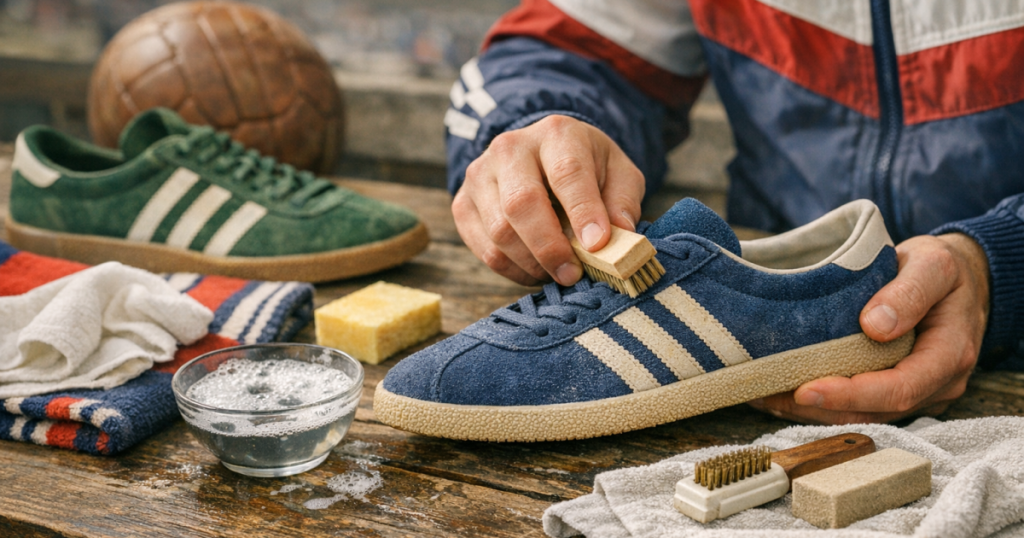
Once the suede is fully dry, use a proper suede brush if you have one. A soft shoe brush can work for lighter dust, but a suede brush gives better control because it is designed to lift the nap as well as clear surface dirt. Brush in short, light strokes rather than long aggressive scrubs.
Start with the least dirty areas and move towards the worst marks. This stops you dragging grime from the sole edge across cleaner panels. Pay attention to stitch lines, toe creases and the area around the lace holes, where dust often gathers. If the trainers have a gum sole or rubber foxing, keep the brush mostly on the suede and clean the rubber separately.
A dedicated brush such as the Collonil Suede and Nubuck Brush can be handy because it is made for raised leather surfaces. Whatever you use, the point is control: light pressure, small movements and regular checking under decent light.
Step 3: Use a suede eraser on scuffs and shiny marks
After brushing, tackle scuffs with a suede eraser or crepe rubber block. Rub gently over the mark, then brush away the residue. This is often enough for heel scuffs, dark toe marks and the dull grey patches that appear after repeated wear.
Do not keep grinding away at one stubborn mark. If you overwork one small area, it can end up cleaner, flatter or lighter than the surrounding suede. Work in stages: erase a little, brush, inspect, then repeat if needed. On darker colours such as navy, forest green, burgundy or black, test an inconspicuous section first because some dyed suede can show changes more clearly.
Step 4: Spot clean only when brushing is not enough
Cleaner should be the next step, not the first one. If dry brushing and erasing have removed most of the problem, leave it there. For remaining dirt, use a suede-safe cleaner and follow the instructions on the bottle or kit. The safer method is usually to apply a small amount to a brush or cloth rather than pouring liquid directly onto the shoe.
Work on the whole panel rather than only the stain. For example, if the outside of the toe box has a mark, lightly clean the full toe panel so you do not create a visible cleaned circle. Keep the motion gentle and avoid saturating the suede. If foam is involved, remove the excess carefully with a clean, slightly damp cloth, then stop.
Kits such as the Jason Markk Suede Cleaning Kit are worth checking because they are designed around footwear care, but always read the current product guidance for your specific pair and material mix. Suede, nubuck, leather overlays and synthetic panels can all react differently.
Step 5: Deal with stains by type
Rain spots
Rain marks often happen when only part of the suede gets wet. Once dry, brush the nap evenly. If the edge of the mark remains, lightly dampen the whole affected panel with a barely damp cloth, then let it dry naturally before brushing again. The goal is to even out the panel, not soak it.
Salt and winter pavement residue
White marks from winter streets can be stubborn. Brush off loose residue first. If a suede-safe cleaner is not available, use a very lightly damp cloth on the affected panel and blot rather than rub. Let the shoe dry fully and reassess. Heavy salt staining can permanently alter suede, so early cleaning after wear is better than leaving it for weeks.
Oil and grease
Oil is one of the hardest stains to remove from suede. Blot fresh oil immediately with a clean, dry cloth, but do not rub. Some people use absorbent powders on fresh grease marks, but results vary and coloured suede can be unpredictable. If the trainers are rare, expensive or sentimental, stop before making the mark larger and consider whether a specialist shoe repairer is worth using.
Drink spills
Blot the liquid quickly with plain kitchen roll or a clean cloth. Let the shoe dry, then brush. Sugary drinks can leave sticky residue, so a controlled spot clean may be needed afterwards. Avoid heavily scented household cleaners; they are not made for suede and can leave patches or residue.
Step 6: Clean the soles and laces separately
A fresh suede upper looks wrong if the sole edge is still grimy. Use a separate damp cloth or old soft toothbrush on the midsole, outsole edge and gum sole. Keep dirty sole water away from the suede panels. For textured gum soles, work slowly around the edge instead of splashing cleaner over the upper.
Laces can usually be removed and hand washed separately in warm water with a small amount of mild detergent, then air dried. If the lace tips are fraying or the colour has gone grey, replacing the laces can lift the whole pair without changing the character of the shoe. Match the lace shape and colour to the trainer: flat cream laces feel more archive, while bright white can sometimes look too new against aged suede.
Step 7: Dry them properly and revive the nap
Drying is where many pairs are ruined. Put the trainers in a ventilated room and leave them alone. Do not place them on a radiator, under direct sun through a window, or next to a heater. Heat can shrink, stiffen or mark suede, and it can also affect glue lines and shape.
When they are fully dry, brush the suede again. Brush with the nap first, then lightly against it if the surface needs lifting, then finish in a consistent direction. This final brush is what restores the soft, matte appearance that suits terrace footwear. If the upper still looks flat, give it time; suede can look darker while drying and often improves after a careful final brush.
Step 8: Protect them before the next wear
A suede protector is not a magic shield, but it can help reduce the impact of light rain and surface dirt. Use a product that states suitability for suede or nubuck, and follow the instructions on distance, drying time and ventilation. Test on a discreet area first, especially with pale suede, strong colours or mixed-material uppers.
A spray such as Crep Protect Spray is commonly used for trainer care, but you should still verify that it is suitable for the exact material and finish of your pair. Apply outdoors or in a well-ventilated space, allow the shoes to dry fully, and do not wear them immediately after spraying.
Common mistakes that ruin suede trainers
- Putting them in the washing machine: this can distort shape, fade colour, roughen suede and affect glued components.
- Using too much water: suede cleaning is about controlled moisture, not soaking.
- Scrubbing one spot aggressively: you may remove the stain but leave a lighter, bald-looking patch.
- Using normal trainer cleaner without checking: some products are fine for leather or mesh but too harsh for suede.
- Drying with direct heat: radiators and hairdryers can make suede stiff and uneven.
- Ignoring both shoes as a pair: if you clean only one trainer, the pair may no longer age evenly.
How clean should terrace trainers actually look?
There is a balance. Terrace style has never really been about looking untouched; it is about looking considered. A pair of suede trainers with a gently worn toe, brushed nap and clean sole edge can look better with a track jacket than a pair that feels too box-fresh. Wear gives the outfit life, but neglect makes it look accidental.
If you are building outfits around archive sportswear, think of trainer care as part of the whole system. Clean suede helps the colours in a track top read properly, keeps wider trousers from looking sloppy, and makes outerwear feel chosen rather than thrown on. For a broader framework, the guide to building a terrace wardrobe that looks authentic is a useful next step.
Storage habits that make cleaning easier
Good storage reduces how often you need a deep clean. Brush suede after dirty wear rather than waiting until the shoes are heavily marked. Let trainers breathe before putting them away, especially after rain. Store them away from direct sunlight to reduce uneven fading, and avoid piling heavy shoes on top of soft suede uppers.
If you rotate trainers, suede pairs last better. Wearing the same pair through repeated wet days gives them little time to dry and recover. Rotation is not just about collecting; it protects shape, lining freshness and surface texture. Even two or three well-chosen pairs can cover most retro sportswear outfits without hammering one pair into the ground.
Things readers ask
Can suede trainers be cleaned with water?
Yes, but only carefully. Use minimal moisture, clean the panel evenly, and dry naturally. Soaking suede is what usually causes tide marks, stiffness and patchy colour.
Should I use vinegar on suede trainers?
Some people use diluted white vinegar for specific marks, but it is easy to overdo and can affect colour. For valued trainers, a suede-safe cleaner and careful testing are the safer route.
Can I clean suede trainers after they have been soaked in rain?
Let them dry fully first. Stuff lightly with clean paper to hold shape, keep them away from heat, then brush and assess. Cleaning while soaked can push dirt deeper into the nap.
How often should I protect suede trainers?
Reapply protector according to the product instructions and how often the trainers are worn. Regular wear in wet UK conditions usually needs more attention than occasional dry-weather use.
Is nubuck cleaned the same way as suede?
The approach is similar, but nubuck has a finer, smoother surface. Use products that state suitability for nubuck and test first, because heavy brushing can change the finish.
What stands out
The best suede cleaning routine is slow, dry-first and light-handed. Brush before cleaner, erase before moisture, and dry naturally before judging the result. Most pairs do not need a dramatic rescue; they need regular small resets after real-world wear.
For terrace outfits, that care pays off. A brushed pair of suede trainers can sharpen a nylon set, soften a bold track top and keep a retro look wearable rather than costume-like. If you want to understand how footwear and fabric eras work together, the breakdown of nylon, tricot, velour and terrace fits adds useful context for matching clean trainers to the right sportswear mood.